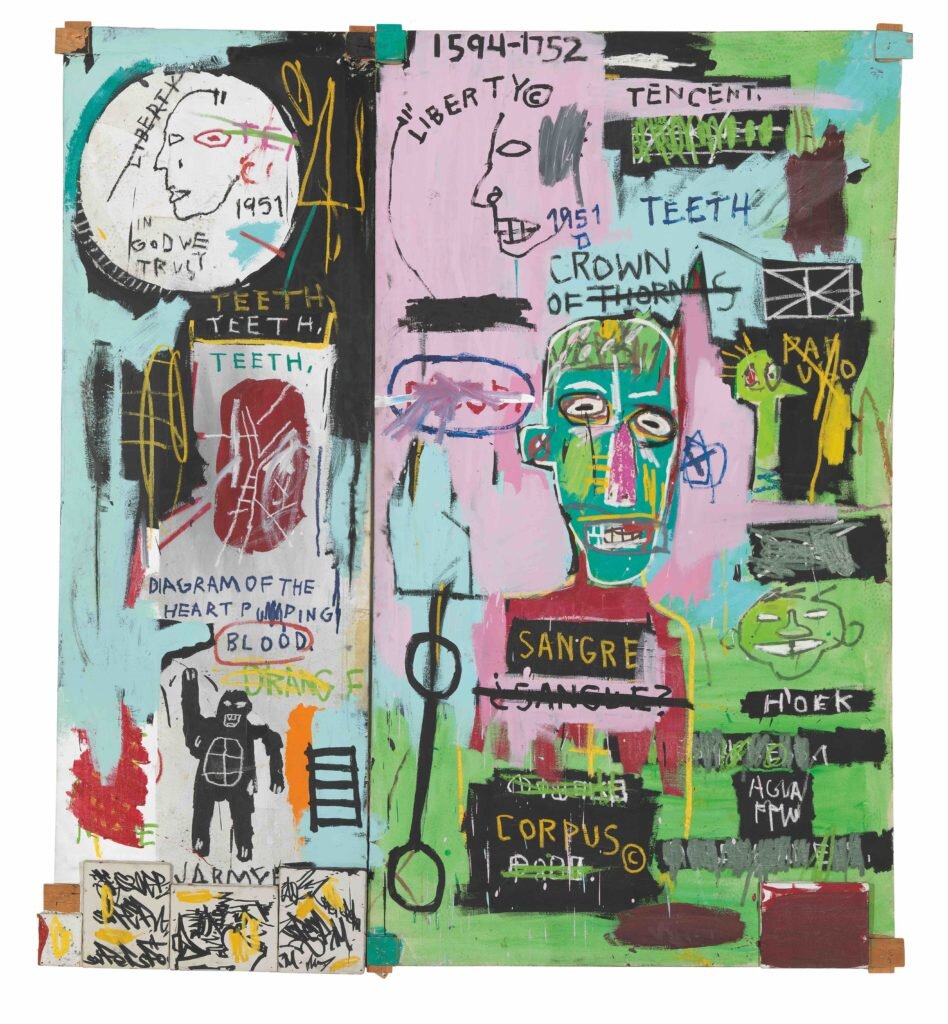
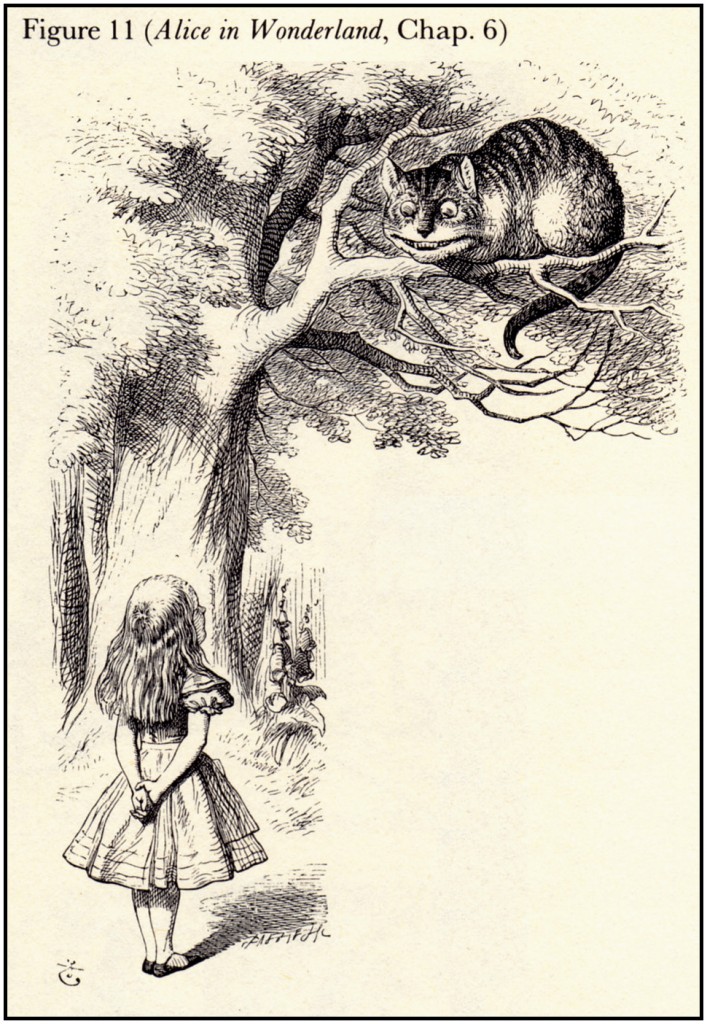
This is an optional fist assignment just because I don't want someone's access to the Internet to effect their ability to use this book . Those who can't make a blog will instead keep a sketchbook that also includes writing, and inspiration.
Now for those of you who have regular access to the Internet, and own a digital camera or scanner, you will be creating a blog. Relax, it's not as hard as you think. I'm a big proponent of blogging your work because I think it is an excellent way of making a time line of your inspirations as well as your progress. Many of you may be terrified by the idea of creating and maintaining a blog because you don't think of yourself as tech savvy. Trust me, if you can check email, you can create and maintain a blog. Instead of hitting “send” you will be hitting “publish”. I've also included a step by step at the end of this chapter for those who are completely new to the Internet as well.
In this lesson I want you to start researching and becoming familiar with what drawings and paintings you really love. If you don't know where to start just go to wikipedia.com and type in “20th century art” (or whatever century you're interested in) . If you already know about a movement of art (say impressionism, or surrealism) that you are interested in then search for pages about that. If you are lucky enough to live in a city with a big beautiful museum then by all means go! Most public libraries also have a gorgeous selection of art books. I've also included a list of interesting artists from all over the artistic spectrum available at painting-course.com/artists . So you have no excuse. Start finding out what art you are drawn to the most.
<!--more-->
Now that I've given you the “what” to do, I'm going to tell you the “why”. One terrible idea which has seeped into many people's minds over the years is that it is bad to try and emulate someone elses art. Every semester I have another student who loves a certain type of art or artist but thinks it would be bad to try and emulate that persons style. As if they should just find their own style on their own. Let me tell you something. Just about every single great artist over the centuries looked up to someone else. Historically speaking previously students would apprentice with a master painter, they would try their best to learn all of their teachers techniques and they did countless hours of repetitive drawings and paintings. I'm not saying that your end goal should be to paint just as your idol, i'm saying that if you first emulate the paintings which you love the most, then you will naturally create your own style and vision as you become more confident.
Think of it this way. Im sure Wayne Gretzky and Michael Jordan had their respective idols they watched growing up. In classical music we don't say someone isn't a musician because they are playing someone elses music. In fact concert pianists are playing note for note what's right in front of them. It's their interpretation and technical abilities which makes them unique. You need to start thinking about painting and drawing in the same way.
In previous years one would have a sketchbook of thoughts, images, and sketches of inspiration. Today with the advent of blogs, it is much easier to categorize your interests and inspirations. Remember, this isn't a course about just “learning how to cross hatch” , this is a course designed with the intention of getting you to create work that you are proud of. Work that says something about you and your interests. So the first step in that is to get interested in some of the art around you now! Also don't be afraid to really hate something. You can appreciate art, but that doesn't mean you have to like it.
Ok, you've convinced me. So how do I make a blog?
The first thing you've got to decide is what you want your blog to be called. This can be more difficult than you think.
If you want your name to come up in google searches I suggest just using your first and last name as your domain name, such as www.jeremiahpalecek.blogspot.com (that was my first blog). If you have a common name and the address is not available then try using a hyphen, or dot between your first and last name. If you have a ridiculously common name you can also try something like XxJohnSmithxX or JohnSmith64.
If you want to create a more visionary name for your blog the first thing you will be doing is creating a mind map. A mind map is a diagram used to represent words, ideas, tasks, or other items linked to and arranged around a central key word or idea. As you can see in the illustration below I've started with the central key word “painting blog” and from that I've brainstormed a bunch of words and ideas associated with painting. There's “descriptions of paint” (flake, chip, burnt, canvas, drip, slop, wet, gooey) “Materials” (ink, acrylic, oil, brush, pencil, gesso) “Famous Artists” (Michelangelo, Leonardo, Donatello, Raphael, Van Gogh ) “Art I like” (Dutch Landscapes, Surrealism, Dada, Impressionism) and the final category “cool names” (spark, antiquity, ancient, glisten, robot, dust, space) I did this mindmap in 5 minutes and now I can just start combining the keywords I generated to come up with cool website names such as PencilSpark, DadaDust, RobotSlop, AncientFlake, or GooeyVanGogh. It's that easy. Once you've got a name that hits you and you think “yeah, that's sounds cool” go with it. You've just created a new online identity. You can post anonymously there if you are shy about your work, but trust me, as your blog begins to fill with content you will want to be more closely associated with it. It will be a sneak peak into your artistic inspirations and personal progress. After you've got a few finished pieces up you can print out your blog name on business cards and give it to friends. They'll check back to see your progess. Trust me.
Now that you've got a Domain Name* you've got to choose where you want your blog to be hosted. The best way to describe what “hosting” means is to compare it to parasites. Sorry. When a parasite infects an animal, the carrier is called the host. The host is the person carrying the parasite, on the internet, the host is the computer which hosts your data. Sometimes people forget that the internet isn't some sort of ethereal netherworld. Every piece of data you look at when you are looking at a webpage is physically located on a computer somewhere. This generally costs money. However there are a lot of internet companies which will give you all the space that you will ever need for free. Amazing, isn't it. Google's Blogger.Com are the biggest however there are literally thousands of different websites giving away free blogs. I suggest looking at wordpress.com , blogger.com, tumblr.com , typepad.com , and livejournal.com.
The drawback of using a free site is that your Domain Name will include their's as well. So that's why you see addresses with .blogspot.com or .wordpress.com . It's because those companies are giving away storage space for free. If you're a little more tech saavy I suggest you look around at various blogging sites and choose which one you like the most. There are benefits and drawbacks of each. For this course I will be using wordpress as the default since it is the most widespread, sophisticated, and free blogging application available. It was also created by a large community of nerds for no profit. Which is pretty cool so they're always the good guys to support.
*Domain Name refers to the name of the address you type into a web browser (such as Internet Explorer or Mozilla Firefox). For instance Google's Domain Name is Google.com , My personal Blog Domain Name is Jersus.com
For those completely new to the internet I've created the following tutorial.
Once you get to any of these sites there will be extremely simple instructions to get you going. At Blogger.Com there is a big orange button that says “Create a Blog” , On wordpress.com there is a similar orange button which says “sign up now”. They are all pretty similar and most all of the blogging sites you go to will be screaming for your attention with a giant “CLICK ME!” button.
I am a big fan of wordpress personally so I'll take you through the following step by step on how to get a blog up and running on wordpress within minutes.
First go to wordpress.com . You there? ok. Cool. See that big orange button that says “sign up now”. Click that.
Now you get to this page. Fill in your information . Check that you've read the terms and conditions. Make sure “gimme a blog! (like username.wordpress.com)” is selected. And know that your username can be different than the website name. So you can just use your first name, or admin as your Username. Click Next.
Here you type in what name you will want for your web address. As you can see it put my Username in there as the default Blog Domain name. But you can change this and write in the name which you brainstormed using the mindmaps. You can also change the Blog Title to anything you want. If you want people to find your blog when they google your real name then put your real name in the Blog Title, for instance my Blog Title at Nerdkore.Com is “Original Oil Paintings by Jeremiah Palecek.”. If you wish you can put something more creative such as. RobotSlop's Painting Paradise. Whatever you want. Just have the Blog Title say something about you! Then choose the language you will be blogging in. Choose whether or not you want your blog to appear in search engines (google, yahoo, msn, etc.). Then click Signup. and BOOM! It's yours!
Click on login, and it will take you to https://robotslop.wordpress.com/wp-login.php . This is the address you will use every time you want to login to your “control panel” (which you will see in a moment) .
Type in your Username and your Password, Click Log In, and the Control Panel page will open up.
This is where you can control all of the information which will be posted to your blog. It may look complicated but you'll only need to know a few places I'll highlight which will get you up and blogging in seconds. Do you see where it says “New Post” on the top left corner. Click it.
That takes you to the page where you will compose your “post”. Think of a post as an entry in a journal. Type in a name for your first post.
Then I want you to go where it says “upload/insert” (detail below)
And click on the rectangular icon. (You'll notice if you hover your cursor over it, it will say “upload image”.) This window will pop up.
Click on Select Files. And you'll get a window popping up. Navigate to the folder which holds your images. This is the same as attaching an image or file to an email. Pick the file you wish to upload. And click “Open”.
The file will upload to wordpress' server and you'll see this window.
You can customize the alignment, and sizing if you wish. Now click “Insert Into Post” (bottom left). As you can see the image has been uploaded underneath your Title. You can click inside the rectangle and type some text under the image now. Then hit “Publish” which is located in the right sidebar.
And that's it. You've just published your first post with an image to the internet for all to see. Click on “View post” and you can see how the page is presented online. If you wish to change the look of your page you can click on “Appearance” (left sidebar) and further customize the look.
There you go. You're a blogger now. So start archiving images of what inspires you, and let's get down to the real business of learning how to draw, and then of course learning how to paint! This website is going to serve as your diary of progress.
For a list of previous students' blogs please go to painting-course.com/blogs . To have your blog added to the list please email me and I'll be happy to add it.


